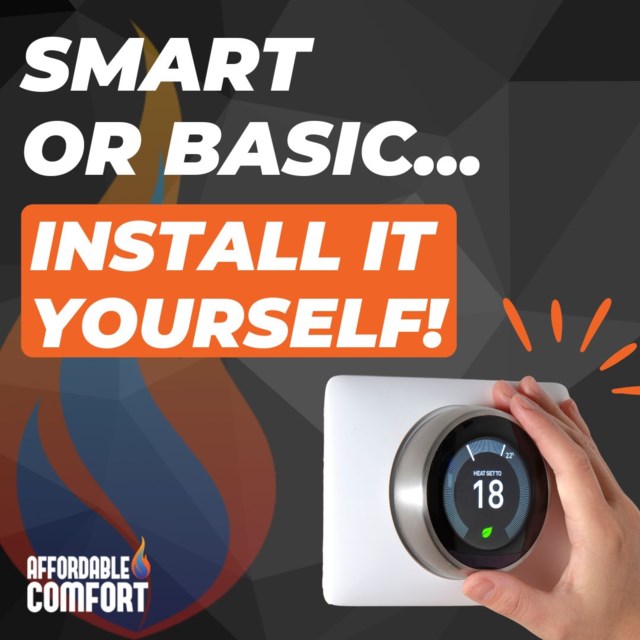
How to Install a Thermostat Yourself
Installing a thermostat might sound intimidating, but if you’re comfortable using a screwdriver and following instructions, it’s a DIY project many homeowners can handle. Whether you’re upgrading to a smart model or replacing an older unit, here’s a quick guide to get you started.
Before You Begin:
Always turn off the power to your HVAC system at the breaker, and check your model’s manufacturer instructions.
What You’ll Need:
-
New thermostat (check compatibility)
-
Screwdriver (flat-head and/or Phillips)
-
Level (optional)
-
Smartphone (for smart thermostat setup)
Step-by-Step Installation
-
Turn Off Power – Switch off the breaker to your HVAC system.
-
Remove Old Thermostat – Take off the faceplate, unscrew the base, and snap a photo of the wiring for reference.
-
Label Wires – Use provided labels or your own for wires like R, W, Y, G, and C.
-
Install New Base – Secure it to the wall with screws, making sure it’s level.
-
Connect Wires – Match each wire to the correct terminal and tighten.
-
Attach Faceplate & Restore Power – Snap the faceplate on and turn the breaker back on.
Want to see the full installation steps, pro tips, and how to handle tricky wiring? Read the full guide on our blog or contact Affordable Comfort—we can install and set up your thermostat for you, ensuring it works perfectly with your system.